
We know what you must be wondering – how can STEM education be fun and creative? It’s actually pretty simple and requires only a bit of work and creativity on your part. Incorporate your child’s curious mind and basics of STEM education and what you get is a fun filled weekend or holiday!
Following are some fun and creative ideas that can be used to engage your children.
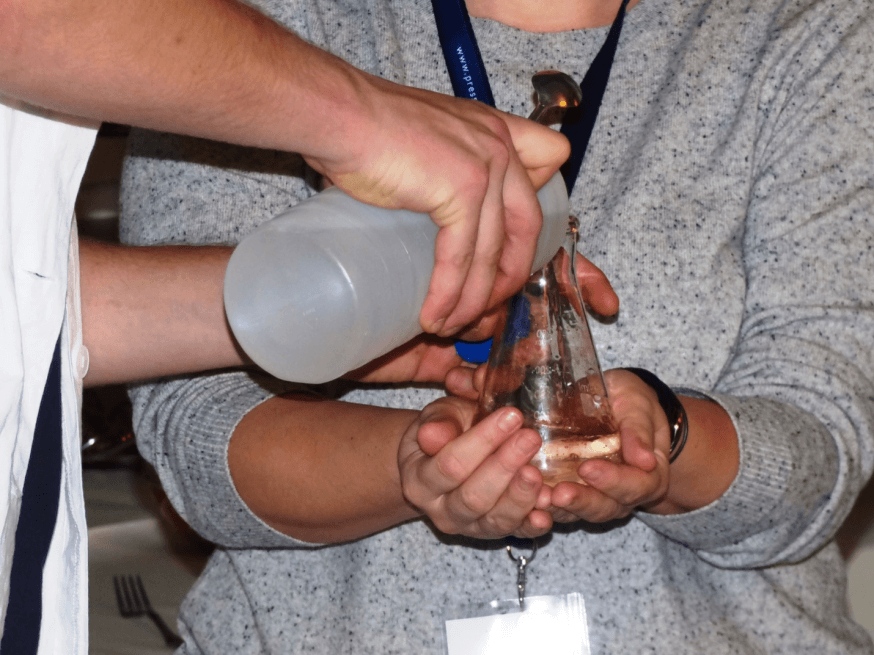
Make Reindeer Toothpaste
Wouldn’t it have been wonderful if we could create sweet peppermint smelling toothpaste at home? Well, you can make a concoction resembling toothpaste at home alright. In fact, your children will have a fun time making it! All you need are the following ingredients:
- One clean 12-16 plastic bottle
- ½ cup of 6% hydrogen peroxide in liquid form (this a higher level of concentrated hydrogen peroxide that is available at beauty supply stores)
- 1 tablespoon of dish soap
- 8-10 drops food coloring (optional)
- A few drops of peppermint essential oil
- Warm water
- 1 tablespoon of active dry yeast
- Small cup or bowl
- Funnel
- Baking pan
- Safety goggles
What to Do
Gather all the supplies and your children. Explain what you’ll be doing, with the end result. Begin the reaction by mixing 1 tablespoon of yeast with 4 tablespoons of warm water. Continue mixing the yeast until most of the clumps are gone.
Wait a few seconds to a minute for the yeast to start bubbling a bit. Meanwhile turn your attention to the plastic bottle by adding a squirt of dish soap. Then add several drops of wintry blue (or your choice) food coloring.
The last step is adding the hydrogen peroxide solution to the bottle, gently swirling around to mix it well. Quickly pour the yeast solution into the bottle and see science at work as foam begins to erupt, upwards towards mouth of the bottle!
You can have as many tries with the experiment just remember to buy a big bottle of hydrogen peroxide.
Spell Out Your Name in Crystals
Is there an easier way to teach children about sedimentation? Yes there is with this fun activity meant for ages 3 and up! Your children will love displaying their name where everybody can see and admire, as well as gift it to people.
How-to Prepare
- Pipe cleaners
- Pencils or wooden skewers
- Fishing line (yarn or twine will work too)
- Scissors
- Plastic container or glasses (one for each color)
- A container large enough to hold the name
- Borax
- Food coloring
- Liquid measuring cup
- Tablespoon
- Heat safe mixing bowl
What to Do
Gather all the supplies and explain the experiment to your children. The first step is to take the pipe cleaners and use them to form letters of a name. Once formed, hook the name (or separate letter) on the fishing line. The idea is to suspend each letter or the complete name a few inches from the wooden skewers.
The next step is to heat a large pot of water to make the borax mixture. Decide if you want different colors for each letter, setting out appropriate number of quart sized plastic containers. Measure 3 tablespoons of borax per cup hot water.
Next pour 3 cups of almost boiling water into each of the containers once correct measurements are completed. Mix each container’s solution well than add several drops of food coloring. Carefully lower each letter into the color of your choice and then place inside the jar. Let it be overnight and see beautiful crystals appear the next morning.
There are many other activities that can be done to teach STEM concepts or make them easier. You can also enroll your child in Aerobotics Global workshops or after school program!


